


Key Takeaways
- Understanding every stage of roof replacement reduces anxiety and makes the process smoother.
- Material selection, proper installation, and post-project care are critical to a long-lasting roof.
- Partnering with a qualified roofer ensures both craftsmanship and peace of mind throughout your project.
Table of Contents
- Initial Consultation and Roof Assessment
- Choosing the Right Roofing Materials
- Preparation and Removal of Old Roofing
- Installation of Underlayment and Flashing
- Installing the New Roofing Material
- Final Inspection and Cleanup
- Post-Installation Maintenance Tips
Replacing your roof is a substantial investment in your home’s value and protection. Many homeowners gain confidence by learning about each phase, working closely with an experienced roofer from start to finish. If you’re preparing for a new roof, understanding what’s to come can help you avoid surprises and get the lasting results you expect.
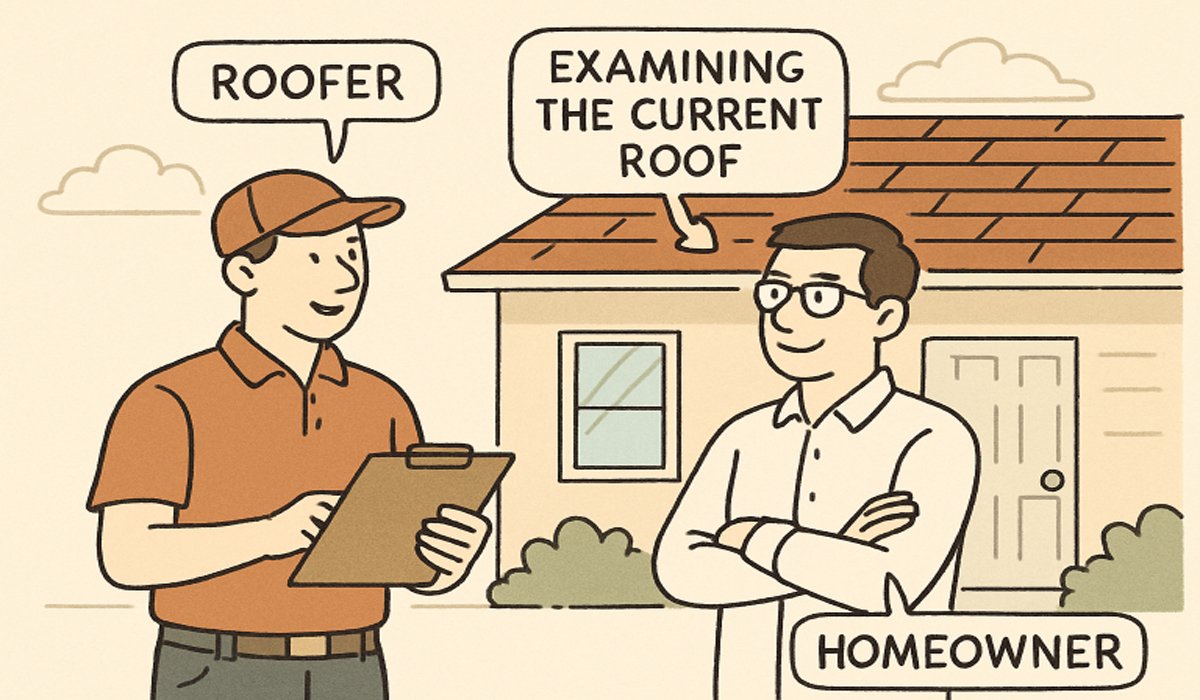
Initial Consultation and Roof Assessment
Your roof replacement journey always starts with an in-depth consultation and onsite examination. During this initial phase, a professional from a reputable roofing company assesses the roof’s condition, identifies any structural concerns, and pinpoints damage, such as leaks, rot, or inadequate ventilation. They’ll also discuss your aspirations for the new roof, helping clarify material choices, color schemes, and upgrades that might boost both your curb appeal and property value. This proactive assessment enables you to budget effectively, establish a timeline, and prevent costly surprises by addressing issues early.
Choosing the Right Roofing Materials
The selection of roofing materials is a crucial decision that significantly impacts your home’s appearance, durability, and maintenance requirements. Common options include:
- Asphalt Shingles: Favored for their cost-effectiveness and aesthetic flexibility, asphalt shingles are compatible with most home designs and provide dependable performance for years.
- Metal Roofing: Renowned for energy efficiency and longevity, metal systems may cost more initially but often outlast other materials and offer increased protection against severe weather.
- Slate & Tile: Although heavier and more expensive, slate, clay, or concrete tiles shine in terms of longevity and beauty, especially for homes that can support the extra weight.
When weighing materials, consider the local climate, architectural style, and your willingness to maintain them as required.
Preparation and Removal of Old Roofing
Before new materials arrive, your property is carefully prepped to minimize the risk of damage. Protective tarps and plywood are set up around your landscaping and the exterior of your home. Experienced crews then systematically remove the aging materials—shingles, underlayment, flashing—down to the bare decking. This allows them to:
- Spot any rot, mold, or structural damage that may require repair.
- Ensure a clean, level surface for optimal installation and ensure the roof’s longevity.
This step is typically noisy and may create dust, so homeowners should plan accordingly, especially if pets or children are present.
Installation of Underlayment and Flashing
Next comes the weatherproofing phase:
- Underlayment: Synthetic or felt underlayment is rolled out across the decking, acting as a vital moisture barrier. This prevents water infiltration if the upper roofing is ever compromised.
- Flashing: High-quality metal flashing is expertly installed around features such as chimneys, skylights, and roof valleys to channel water away from seams and joints, safeguarding your home from leaks.
Proper attention at this stage is crucial for long-lasting protection—incorrect installation can lead to costly water damage in the future. The Asphalt Roofing Manufacturers Association’s installation guide offers further detail on these methods.
Installing the New Roofing Material
The main event is the careful installation of your chosen roofing material. Crews start at the roof’s edge and work upward, overlapping each row to prevent water intrusion. Each tile, shingle, or panel is secured in accordance with the manufacturer’s and industry’s best practices for wind, rain, and thermal expansion. Depending on the project size and complexity, installation can take anywhere from one day to several days. Safety protocols are followed at all times to protect both property and workers.
Final Inspection and Cleanup
Once installation is complete, a post-project inspection ensures that every detail meets quality standards. Any overlooked issues—such as unfastened shingles or incomplete flashing—are resolved, and the area is tidied meticulously:
- All debris and leftover supplies removed from your property.
- Magnets are used to find and pick up stray nails from walkways and lawns.
- A final walkthrough is conducted with you to address any questions and ensure your satisfaction.
This commitment to thorough cleanup restores your home’s appearance and keeps your family safe.
Post-Installation Maintenance Tips
After your new roof is in place, basic care extends its useful life:
- Arrange for professional inspections annually, and after major storms, to catch small issues before they become major repairs.
- Keep gutters and downspouts clear of debris to facilitate proper drainage.
- Trim tree branches close to the roof to avoid excess debris and damage from falling limbs.
Regular attention and preventive care will ensure your investment continues to protect your home for decades. For more in-depth resources, consider expert guides provided by industry associations or consult your professional roofer directly for advice tailored to your specific roofing system and climate.