


Testing mobile applications tends to be difficult, especially when they use the camera for internal functions such as scanning a QR code or taking photographs. Developers and testers often struggle to simulate real camera inputs during automated tests. That’s where camera image injection in Appium comes in as a game-changer.
This technique lets you feed pre-selected images into your app, mimicking what the camera would capture, without needing a real device or manual effort. It’s perfect for ensuring your app works smoothly in Android automation scenarios.
This blog will explain how it works, point out advantages, and indicate the tools that make it all happen. Whether you are new to testing or a pro, this guide will be easy to follow and offers useful insights. Let’s get started and see how Appium simplifies real device testing with camera simulation.
What is Camera Image Injection in Appium?
Camera image injection in Appium is a smart way to test mobile apps that rely on camera inputs. You can fake the use of an actual camera or a mobile device by uploading a created picture, such as a QR code image or any other photo.
This is very useful for automating tests that require no actual camera pointing and still yield the same results every time. Appium, a popular tool for Android automation, makes this possible by overriding the camera’s normal behavior during testing.
This method saves time and effort, especially when testing features like barcode scanning or image uploads. You don’t need a physical device or perfect lighting conditions, just an image file and a test script. It works smoothly on emulators, including Android emulator mac, and real devices alike. By using camera image injection, testers can focus on checking how the app processes the input, not on setting up the camera itself.
Read Also: Porpenpelloz: The AI-Powered Secret to Smarter, Greener Industries
Why Use Camera Image Injection for Mobile Testing?
Testing apps with camera features can be a hassle without the right tools. Camera image injection simplifies this by letting you control what the app “sees” during a test. Suppose you are running a test of a banking application that scans checks, wherein you can insert a picture of the check and verify whether the application’s readout is correct. This removes the need for manual camera use, making tests faster and repeatable in Android automation.
Another big perk is consistency. Real cameras depend on lighting, angles, and device quality, which can mess up test results. With image injection, you use the same image every time, ensuring reliable outcomes. It’s also great for running tests on an Android emulator mac, where a physical camera isn’t even an option.
Plus, it lets you test edge cases, like blurry or unusual images, without hunting for real-world examples. This approach boosts efficiency and catches bugs early.
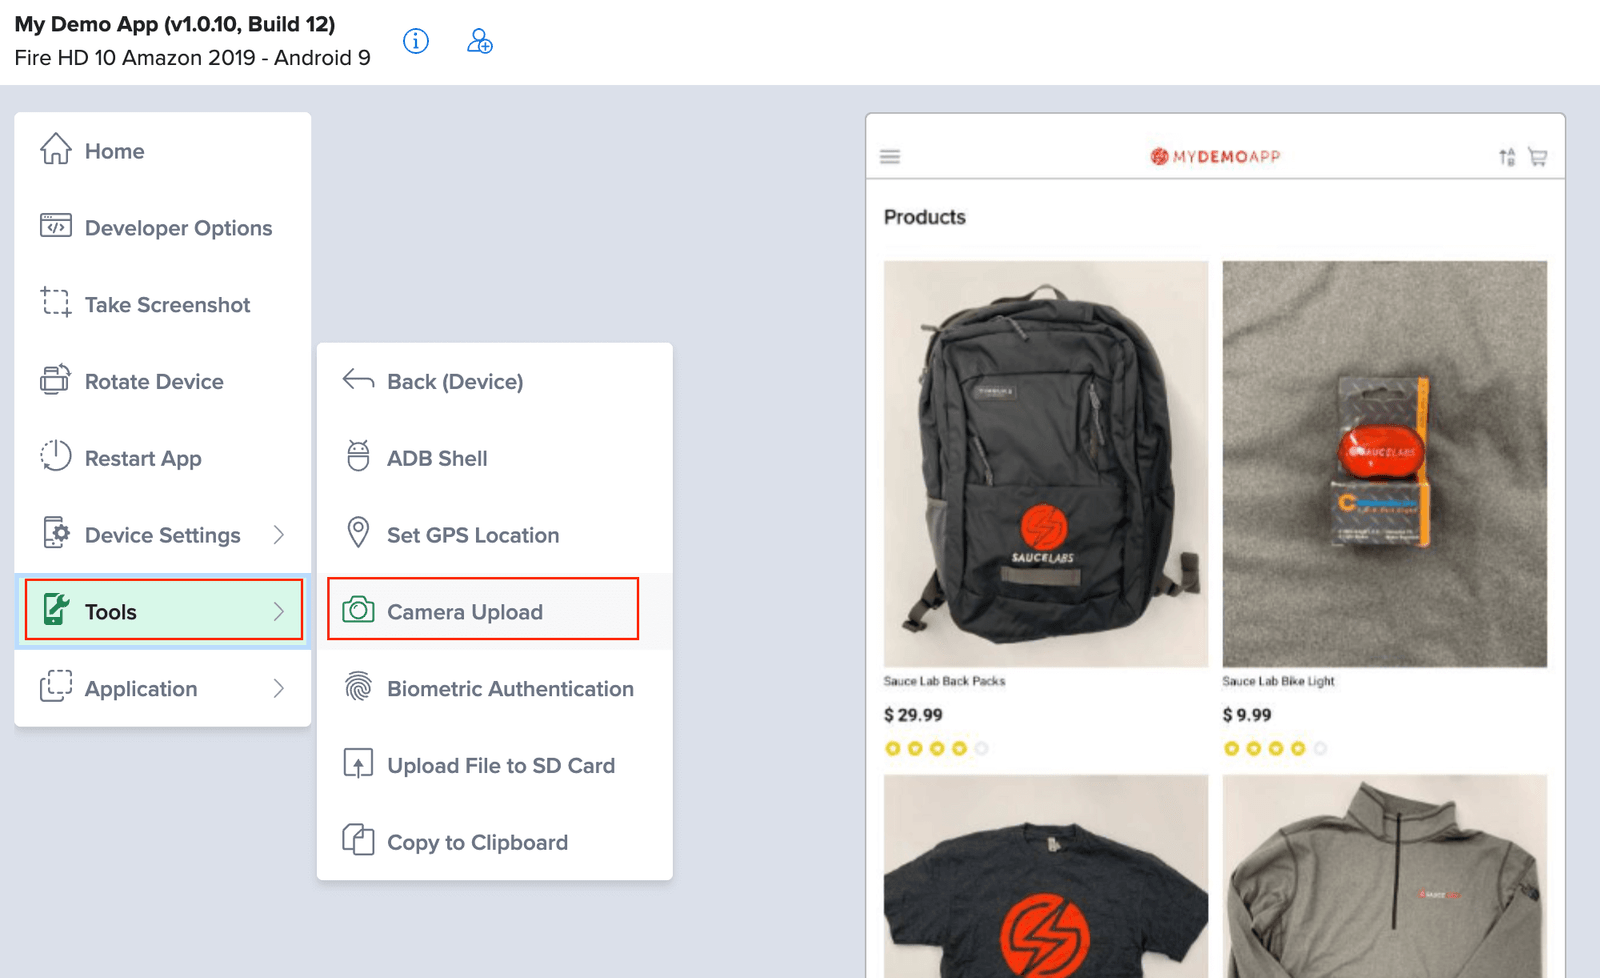
How Does Camera Image Injection Work in Appium?
Camera image injection in Appium works by intercepting the app’s call to the device camera. Normally, when an app opens the camera, it waits for a real photo or scan. With Appium, you upload an image file, and the tool swaps it in as if the camera took it. This happens through special settings called capabilities in your test script, which tell Appium to enable this feature.
First, you prepare your app to accept injected images, often by tweaking its settings or code. Then, in your Appium script, you set up the image file and trigger the injection at the right moment, like when the app expects a camera input. It’s seamless on platforms like Android emulator mac or real devices.
Appium uses built-in drivers to handle the technical stuff, so you don’t need to worry about how it connects to the camera APIs. The result? Your app processes the image, and you test the outcome effortlessly.
Benefits of Simulating Camera Inputs in Tests
Simulating camera inputs with Appium brings tons of advantages to mobile testing. For starters, it speeds up the process by cutting out manual steps like taking photos in real-time. You just pick an image, inject it, and run your test, which is perfect for Android automation workflows. This saves hours when you’re testing the same feature over and over.
It also improves accuracy. Real cameras can give unpredictable results due to shaky hands or bad lighting, but injected images stay the same every time. This is a lifesaver when testing on an Android emulator mac, where you can’t use a camera anyway.
One more advantage is flexibility; you can experiment with every type of image from damaged QR codes to way-too-big photos and see how your app behaves. Overall, this just ends up making testing more reliable, faster, and easier to manage across multiple devices.
Challenges in Camera Image Injection
While camera image injection is powerful, it’s not without challenges. One tricky part is setting it up correctly; your app needs to be configured to accept injected images, which might mean extra work for developers. If the app uses custom camera code, Appium’s default settings might not work, causing headaches in Android automation.
Another issue is compatibility. Not all devices or emulators support this feature perfectly, especially older Android versions or locked-down real devices. Sometimes, testing on an Android emulator mac can draw wrong advantages if the emulator has not been set up correctly. Above all, injecting images will not replicate the real camera behavior, such as focus or live preview; therefore, you might miss some bugs. Thus, testers need to devise a careful plan and double-check their setup to avoid such pitfalls. However, with the appropriate tweaks, these hurdles are manageable.
Camera Image Injection Using Appium
Appium is the star player in mobile testing, especially for camera image injection. It’s an open-source tool that automates apps on Android and iOS, making it a go-to for testers everywhere. With Appium, you can simulate camera inputs by uploading an image and feeding it into your app during a test. This is super useful for features like QR code scanning or photo uploads in Android automation.
What makes Appium awesome is its flexibility. It works with real devices and emulators, including the Android emulator mac, so you’re not stuck with one setup. You write simple scripts in languages like Java or Python, set a few capabilities, and boom, your test runs smoothly.
Appium handles the tricky stuff, like connecting to the camera APIs, so you don’t have to. It’s free, easy to learn, and perfect for anyone looking to streamline mobile testing with camera simulation.
Setting Up Camera Image Injection in Appium
Getting started with camera image injection in Appium is easier than it sounds. First, you need Appium installed on your computer, along with an emulator like Android Emulator mac or a real device. Next, prepare your app to accept injected images, which might mean tweaking its settings or asking a developer for help. Then, grab an image file, like a QR code or photo, that you want to use in your test.
In your Appium script, add special settings called capabilities to enable image injection. Upload the image using Appium’s commands and time the injection to happen when the app calls the camera.
Run the examination and observe the application process of an image just as if it were coming out of a real camera. This works great for automation on Android, thus saving you a lot of time and giving you a reproducible result with each test run.
Best Practices for Camera Image Injection
To get the most out of camera image injection, follow some simple best practices. Use quality images that are relevant to what your app expects, such as a clear QR code or, say, a photo taken in good lighting, to avoid getting unintended results in Android automation. Test your app against all possible edge cases using other images, especially ones that are blurry or ill-sized.
Keep your timing spot-on; inject the image right when the app opens the camera, not too early or late. Use an Android emulator mac or a real device consistently to match your testing environment.
Also, double-check your Appium script’s capabilities to ensure image injection is enabled properly. Finally, save your test images in a folder and name them clearly so you can reuse them easily. These tips will make your tests smoother and more reliable.
Future of Camera Image Injection in Mobile Testing
The future of camera image injection in mobile testing looks bright as apps get more camera-dependent. With tools like Appium evolving, we’ll likely see easier setups and broader support for devices, including the Android emulator for Mac. Testers might get features to inject videos or live feeds, not just static images, opening new testing possibilities in Android automation.
As AI grows, image injection could pair with smart tools to generate test images on the fly, like fake QR codes or damaged photos. AI-native test execution platforms like LambdaTest will make it even simpler, letting teams test across thousands of devices without hassle. This means faster, smarter testing for apps that rely on cameras, keeping up with user demands for flawless features.
Unleashing Camera Image Injection With LambdaTest
LambdaTest makes testing camera features in mobile apps a breeze with its Camera Image Injection feature. The platform lets you simulate camera inputs by injecting images into your app, which is perfect for testing things like QR code scanning or photo uploads without a real camera.
According to their support page, it works across 5000+ real devices on their cloud platform, giving you tons of options for Android automation. You just upload an image, and LambdaTest tricks your app into thinking it came from the device’s camera.
You can also test on Android emulators for iPhone.
Conclusion
Camera image injection in Appium is a powerful way to test mobile apps that use camera inputs. It saves time, ensures consistency, and works seamlessly with tools like Appium and LambdaTest. Whether you’re using an Android emulator mac or a real device, this technique simplifies Android automation for features like QR scanning or photo uploads.
By injecting images, you control the test environment and catch bugs early. The future promises even more exciting updates to make testing smoother. Ready to try it out? Dive into Appium and see how it transforms your mobile testing game. What’s your next app feature to test?
You May Also Like: Speedyshort.com: The Link Revolution You Didn’t Know You Needed